
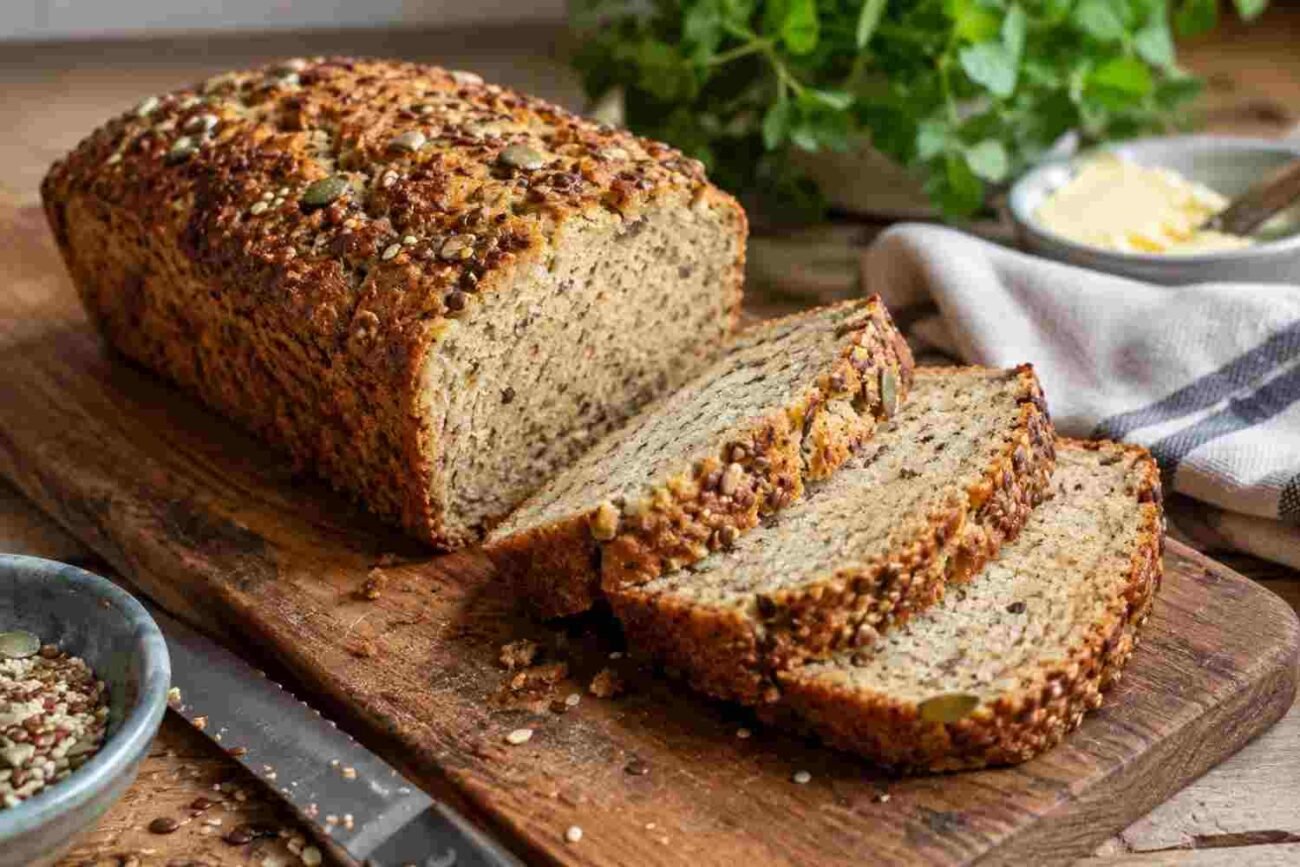
If you’ve been missing real, soft, sliceable bread since going low carb, this recipe is about to fix that. This Keto Bread is light, fluffy, and has that soft chew you actually want from a sandwich loaf — all with just 1 gram of net carbs per slice. No dense, eggy brick here. Just good bread, minus the carbs.
I know keto bread has a bit of a reputation. A lot of recipes turn out gummy, flat, or taste more like an omelet than a loaf of bread. This one is different, and once you get the technique down, it’s honestly not much harder than any other baking project — it just needs a little patience with the egg whites.
Why You’re Going to Love This Bread
- It’s sturdy enough for real sandwiches. No falling apart the moment you add a filling.
- Soft and airy, with actual air pockets. This is the part most keto breads get wrong, and it’s what makes this one feel like real bread instead of a low-carb substitute.
- Just the right amount of chew. Not dry, not crumbly — genuinely satisfying to eat.
- Toasts up nicely. It might take a touch longer than regular bread, but it comes out golden and crisp.
- No strong egg flavor. Since this recipe leans on egg whites rather than whole eggs, you won’t get that eggy aftertaste some keto breads have.
- Neutral flavor. Like a classic white sandwich bread, it goes with pretty much anything you’d put on regular bread.
- Light on calories, too. Around 82 calories and just 1 net carb per slice, which is hard to come by with most low-carb bread.
- Simple ingredient list. Five basic ingredients (plus a few optional extras) and about 10 minutes of hands-on prep.
- Naturally gluten-free. No wheat, no grains — and there’s a dairy-free option too.
What You’ll Need
The Essentials
- Almond flour – Use a finely ground, blanched almond flour rather than almond meal. Coarser flours can make the bread gritty or dense, so the fine texture really matters here.
- Coconut flour – A small amount blended in helps improve the overall texture and structure of the loaf. Different brands absorb moisture differently, so results can vary slightly depending on what you use.
- Baking powder – Make sure it’s fresh so the bread rises properly. Double check you’re using baking powder and not baking soda, since they behave very differently and swapping one for the other will affect both rise and flavor.
- Butter – Unsalted is best so you can control the salt level. For a dairy-free or paleo version, swap in the same amount of unrefined coconut oil. Stick with a solid fat rather than a liquid oil like olive or avocado oil, since it affects the texture.
- Egg whites – This recipe uses a generous amount of whites rather than whole eggs. You can use fresh separated whites or the carton kind — if you go with carton whites, you’ll want to add cream of tartar (see below) to help them whip properly.
- Sea salt – Balances out the flavor so the bread doesn’t taste flat.
Optional (But Worth Including)
- Sweetener – This bread isn’t meant to taste sweet, but a small amount of sweetener helps balance the salt and gives it a more neutral, bread-like flavor. Any keto-friendly sweetener should work here.
- Xanthan gum – Just a small pinch makes a noticeable difference in chewiness and helps hold the structure together.
- Cream of tartar – Helps stabilize whipped egg whites so they form stiff peaks more easily. If you skip it, make sure your egg whites are fresh (not carton) and at room temperature, since cold whites don’t whip as well.
How to Make Keto Bread
- Mix the dry ingredients with melted butter. In a food processor, combine the almond flour, coconut flour, baking powder, sweetener (if using), xanthan gum (if using), and salt. Pulse until evenly combined, then add the melted butter and pulse again until the mixture looks crumbly.
- Whip the egg whites. Using a hand mixer or stand mixer with a whisk attachment, beat the egg whites (with cream of tartar, if using) until stiff peaks form. This step takes patience — don’t rush it, since properly whipped whites are what give the bread its rise and airy texture.
- Combine half the whites with the batter. Add about half of the whipped egg whites into the food processor mixture and pulse briefly, just until combined. Be careful not to overdo this step, or you’ll deflate the whites.
- Fold everything together gently. Using a large spatula, fold the mixture from the food processor into the remaining whipped egg whites. Go slowly and gently — folding, not stirring — until no streaks remain.
- Bake. Transfer the batter into a parchment-lined loaf pan. Bake until the top turns golden, then loosely tent it with foil and continue baking until the loaf feels firm and no longer sounds squishy when pressed.
- Cool completely before slicing. This step matters more than it sounds — cutting into it too early can cause the inside to collapse or feel gummy.
Tips for Getting It Right
- Whip those egg whites properly. This is the single most important step in the whole recipe. Under-whipped whites mean a flat loaf. To check, tilt the bowl — properly whipped whites won’t slide around — or look for clear, defined streaks left behind by your mixer.
- Handle the whites gently. Once whipped, egg whites are fragile. Fold rather than stir, and don’t overmix when combining them with the batter in the food processor. It may look like it’s not coming together at first, but keep folding gently until the streaks disappear.
- Don’t expect a tall loaf. This bread rises a bit, but it’s not meant to be a towering sandwich loaf. Shaping the top slightly rounded before baking helps prevent it from looking too flat once baked.
- Give it enough time in the oven. The center of this bread takes a while to fully cook, and pulling it out too soon is the most common reason it sinks or ends up gummy in the middle. Tenting the top with foil partway through baking helps prevent over-browning while the center finishes cooking.
- Skip the toothpick test. Unlike most baked goods, a toothpick isn’t a reliable way to check doneness here. Instead, press gently on the top — it shouldn’t feel squishy — and if you have a thermometer, look for an internal temperature of around 200°F.
- Set the right expectations. This isn’t a crusty, chewy artisan-style loaf. It’s soft, light, and fluffy, closer to a classic sandwich bread than a bakery baguette.
Common Mistakes to Avoid
- Underbaking the loaf. This is the biggest culprit behind a sunken or gummy center. When in doubt, give it a few extra minutes rather than pulling it early.
- Using coarse almond flour. A finer grind makes a real difference in texture. Coarser flour or almond meal can leave the bread feeling gritty.
- Overmixing the egg whites into the batter. Once whipped, egg whites deflate easily if handled too roughly. Gentle folding is key to keeping the bread light and airy.
- Skipping the cooling step. Slicing into hot bread almost always leads to a gummy texture inside, even if it was baked properly. Let it cool fully first.
- Storing it the wrong way. Because this bread absorbs moisture easily, sealing it in plastic wrap or a plastic bag (outside of freezing) can lead to condensation and a soggy texture.
Ways to Enjoy This Bread
This bread works anywhere you’d use a classic white sandwich loaf:
- Build a simple sandwich with your favorite deli meat, lettuce, and mayo
- Toast a slice and top it with butter, olive oil, or nut butter
- Use it for avocado toast
- Make a warm, gooey grilled cheese
- Top a slice with a creamy salad, like egg salad or chicken salad
- Turn it into French toast by dipping slices in a beaten egg and cinnamon mixture
- Serve it on the side with soup, salad, or your favorite low-carb dinner
Frequently Asked Questions
Why didn’t my bread rise much? This almost always comes down to under-whipped egg whites. Make sure they reach stiff peaks before folding them into the batter, and handle them gently afterward so they don’t deflate.
Can I use whole eggs instead of egg whites? Not for this recipe. The structure and airy texture depend specifically on whipped egg whites, and swapping in whole eggs would change both the texture and the flavor.
Is there a dairy-free version? Yes — simply substitute the butter with an equal amount of unrefined coconut oil.
Can I make this bread ahead of time? Absolutely, and honestly it’s a good idea to. Since it needs to cool completely before slicing, baking it a few hours or even a day ahead works well.
How do I know it’s fully baked? Skip the toothpick test here. Press gently on the top of the loaf — it should feel firm rather than squishy — and if you have a thermometer, an internal temperature of about 200°F is a good sign it’s done.
Storing and Freezing
- In the fridge: Unlike regular bread, this one actually keeps better refrigerated than left at room temperature. Wrap it in parchment paper and store it in an airtight container for up to a week. It’s best to slice it as needed rather than all at once.
- In the freezer: This bread freezes beautifully for up to 6 months. Slice it before freezing and place parchment paper between the slices so they don’t stick together — that way you can pull out just what you need and pop it straight into the toaster.
- A quick note on moisture: This bread tends to absorb moisture easily, so avoid storing it in plastic wrap or bags unless it’s headed for the freezer. If it does end up feeling a little damp, a quick trip through the toaster will usually fix it right up.
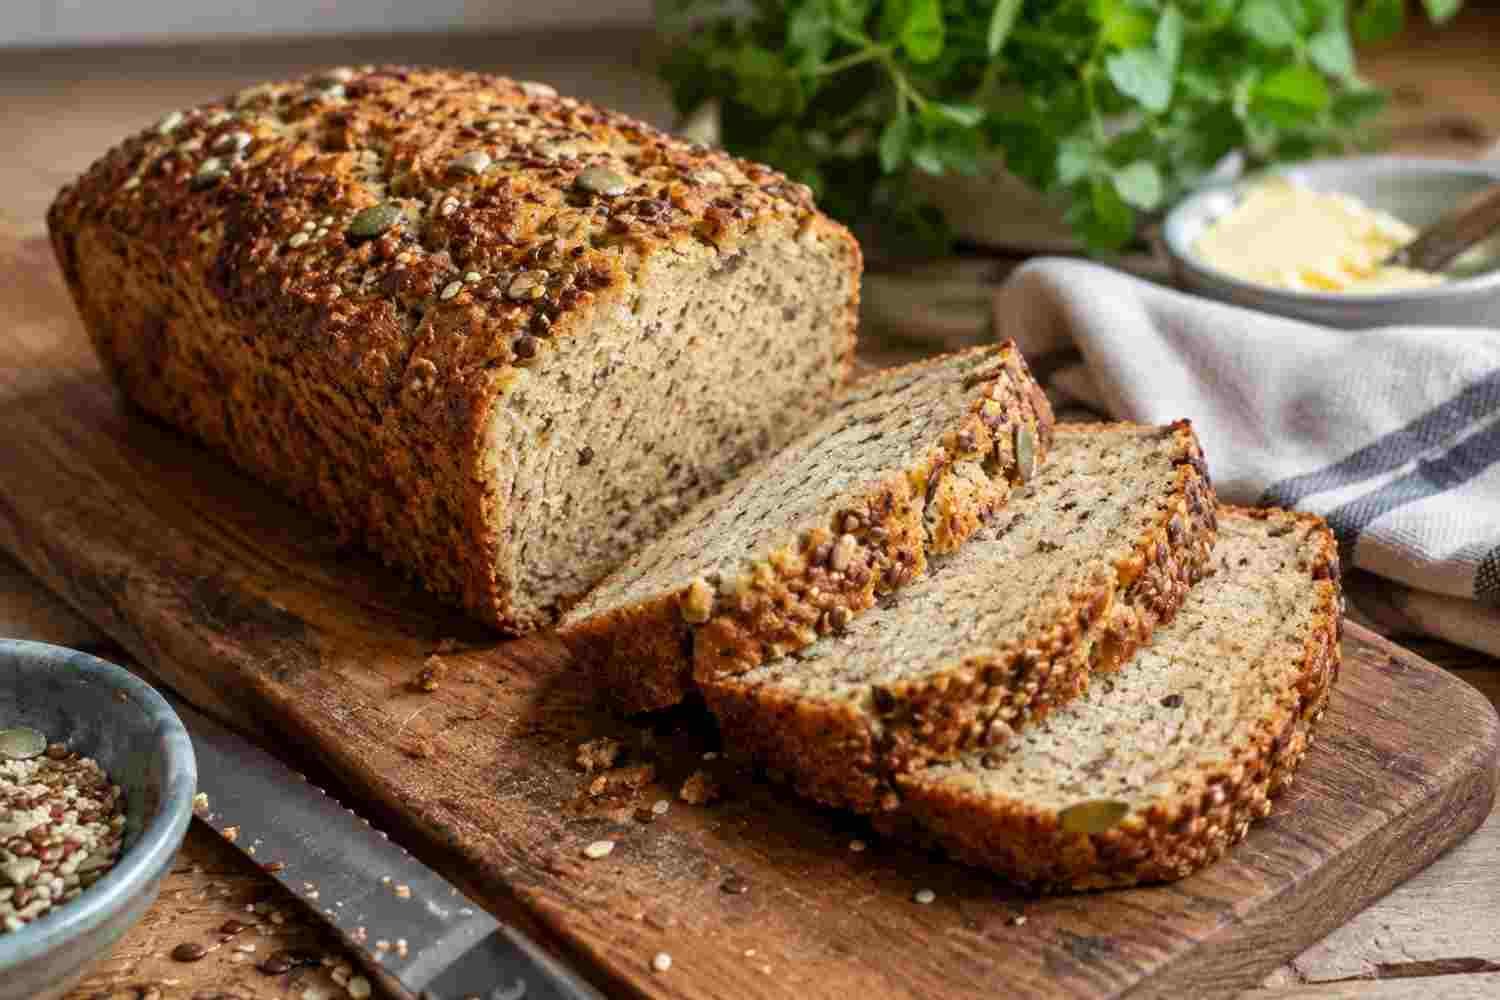
Keto Bread
Ingredients
Method
- Preheat the oven to 325°F (163°C). Line a small to medium loaf pan with parchment paper, leaving extra hanging over the sides for easy removal.
- In a food processor, combine the almond flour, coconut flour, baking powder, sweetener, xanthan gum, and salt. Pulse until well combined.
- Add the melted butter and pulse again, scraping down the sides as needed, until the mixture is crumbly.
- In a large bowl, beat the egg whites and cream of tartar (if using) with a hand mixer until stiff peaks form.
- Add half of the whipped egg whites into the food processor mixture and pulse briefly until just combined. Don’t overmix.
- Transfer this mixture into the bowl with the remaining egg whites and gently fold together until no streaks remain. Fold, don’t stir.
- Spread the batter into the lined loaf pan and smooth the top, rounding it slightly.
- Bake for about 40 minutes, until golden on top. Tent loosely with foil and continue baking for another 30 to 45 minutes, until firm and no longer squishy when pressed (internal temperature around 200°F). Cool completely before slicing.
Notes
- Slicing too soon will result in a gummy texture — let the loaf cool fully first.
- Store in the fridge for up to a week, or freeze pre-sliced for up to 6 months.
- Avoid airtight plastic storage outside the freezer, since this bread tends to absorb moisture easily.
