
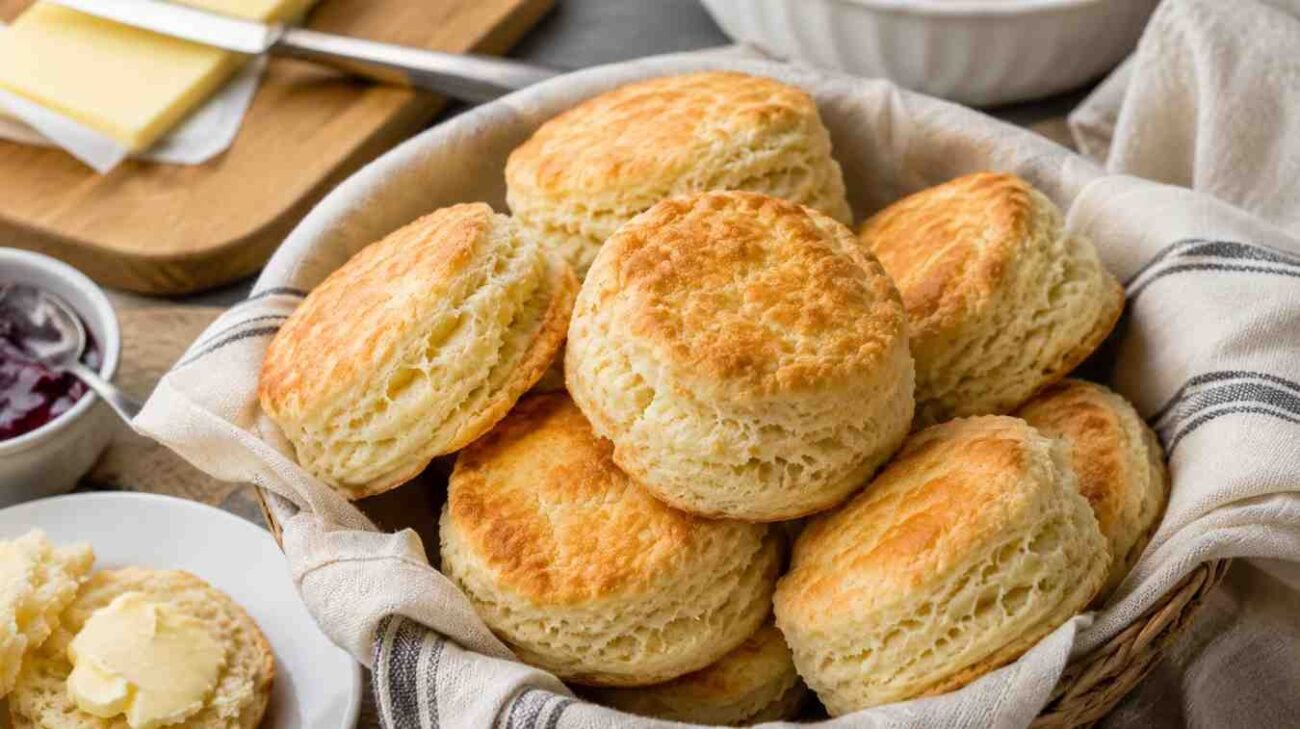
If you’re looking for homemade gluten-free biscuits that bake up soft, buttery, and beautifully flaky, this recipe is one you’ll want to keep. The dough comes together with simple ingredients, bakes until golden, and creates tender layers that are perfect for breakfast, brunch, or serving alongside your favorite meals.
The secret is keeping the ingredients cold and using a simple layering technique that creates light, flaky biscuits without making the recipe complicated. Once you try them fresh from the oven with a little melted butter brushed on top, it’s easy to see why they’re a favorite.
Why You’ll Love This Recipe
These biscuits are simple to make and deliver everything you’d expect from a classic buttermilk biscuit.
- Soft, buttery texture with flaky layers.
- Beautiful golden tops and a tall rise.
- Easy dough that’s simple to work with.
- Made with everyday gluten-free pantry ingredients.
- Perfect for breakfast, dinner, or holiday meals.
- Delicious served warm with butter, jam, or honey.
Ingredients You’ll Need
Each ingredient has an important role in creating tender, flaky biscuits.
Gluten-Free Flour Blend
A good-quality plain gluten-free flour blend provides the structure for the biscuits. If your flour doesn’t already contain xanthan gum, add it separately as listed in the recipe.
Xanthan Gum
This helps hold the dough together and improves the texture of the finished biscuits.
Sugar
Only a small amount is needed to balance the flavor and encourage a beautifully golden finish during baking.
Baking Powder & Baking Soda
These leavening agents work together to help the biscuits rise while keeping the interior light and tender.
Salt
Salt enhances the buttery flavor and balances the overall taste.
Frozen Unsalted Butter
Frozen butter is one of the keys to flaky biscuits. As it melts during baking, it creates delicate layers throughout the dough.
Cold Buttermilk
Cold buttermilk adds moisture, tenderness, and a slight tang while helping activate the baking soda.
Melted Butter
Brushing the biscuits before and after baking gives them an extra rich flavor and an attractive golden finish.
How to Make Gluten-Free Buttermilk Biscuits
Making these biscuits is easier than it looks. The most important thing is to keep the butter and dough as cold as possible throughout the process. This helps create the flaky layers that make homemade biscuits so delicious.
1. Prepare the Oven
Preheat your oven to 375°F (190°C) and position the oven rack in the upper middle section. Line a baking sheet with parchment paper so the biscuits bake evenly and release easily after baking.
2. Mix the Dry Ingredients
In a large mixing bowl, whisk together the gluten-free flour blend, xanthan gum, sugar, baking powder, baking soda, and salt until everything is evenly combined.
Taking a minute to mix the dry ingredients thoroughly helps distribute the leavening agents evenly, giving every biscuit a consistent texture.
3. Add the Frozen Butter
Add the grated frozen butter to the flour mixture.
Using a fork, gently toss the butter through the flour until every piece is lightly coated. If you notice any larger clumps of butter, break them apart so they’re evenly distributed throughout the mixture.
Tip: Work quickly during this step so the butter stays cold.
4. Pour in the Buttermilk
Add the cold buttermilk and stir everything together with a fork until the flour is evenly moistened.
Once the dough begins to come together, gently knead it by hand just until it forms a rough ball. It’s perfectly normal if the dough looks slightly crumbly in a few places. Avoid overworking it.
5. Roll and Laminate the Dough
Transfer the dough onto a lightly floured surface and gently shape it into a disc.
Roll it into a sheet about ¾ to 1 inch thick. Cut the dough into four equal pieces, stack them on top of each other, gently press them together, then roll the stack back to the same thickness.
This simple layering step creates extra flaky biscuits without adding much extra work.
6. Cut Out the Biscuits
Using a 2½-inch (6.5 cm) round biscuit cutter, press straight down into the dough to cut each biscuit.
Dip the cutter into flour between cuts if necessary to prevent sticking.
Avoid twisting the cutter, as this can compress the edges and reduce how well the biscuits rise during baking.
7. Chill Before Baking
Arrange the biscuits on the prepared baking sheet, cover lightly, and freeze for 15–20 minutes.
This short chilling time keeps the butter firm, helping the biscuits bake taller with more defined flaky layers.
Bake the Biscuits
Once the biscuits are well chilled, place them close together on the prepared baking sheet so they’re just lightly touching. This helps them rise higher while keeping the sides soft.
Brush the tops with melted butter, then bake at 375°F (190°C) for 20–24 minutes, or until the biscuits are well risen and beautifully golden brown. If your oven heats unevenly, rotate the baking tray after about 15 minutes for even browning.
As soon as the biscuits come out of the oven, brush them with another light coating of melted butter. This simple step adds extra richness and keeps the tops soft and glossy.
For the best texture, serve the biscuits while they’re still warm.
Helpful Tips for Perfect Biscuits
A few small details can make a big difference in the final result.
Keep Everything Cold
Cold butter is the key to flaky layers. If the dough starts feeling soft while you’re working, place it in the refrigerator for about 15 minutes before continuing.
Don’t Overwork the Dough
Mix and knead the dough only until it comes together. Overhandling can make the biscuits heavier instead of light and tender.
Press the Cutter Straight Down
When cutting the biscuits, press the cutter straight into the dough without twisting. This helps the edges rise evenly during baking.
Roll the Dough Evenly
Keeping the dough between ¾ and 1 inch thick gives the biscuits enough height to bake up tall and fluffy.
Chill Before Baking
Freezing the cut biscuits for a short time helps keep the butter firm, producing better layers and a higher rise in the oven.
Storage
These biscuits taste best on the day they’re baked, especially while still warm.
If you have leftovers, store them in an airtight container at room temperature for 3–4 days. To bring back their soft texture, warm each biscuit in the microwave for 10–15 seconds before serving.
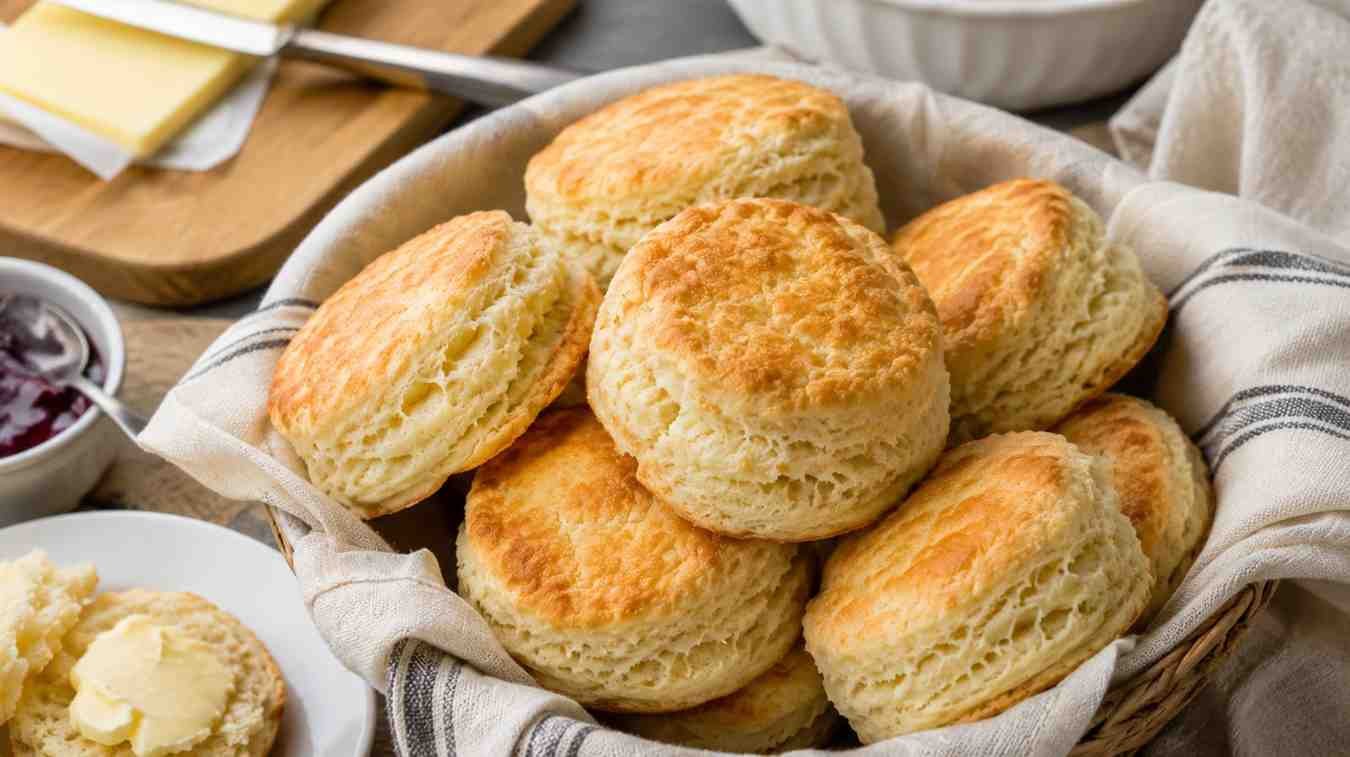
Gluten-Free Buttermilk Biscuits
Ingredients
Method
- Preheat the oven to 375°F (190°C) and line a baking sheet with parchment paper.
- Whisk together the flour, xanthan gum, sugar, baking powder, baking soda, and salt.
- Add the grated frozen butter and toss until coated with the flour mixture.
- Pour in the cold buttermilk and mix until a rough dough forms.
- Gently knead just until the dough comes together.
- Roll the dough to ¾–1 inch thick, cut it into four pieces, stack them, press gently, and roll again to the same thickness.
- Cut out biscuits using a 2½-inch round cutter.
- Place the biscuits on the prepared baking sheet and freeze for 15–20 minutes.
- Arrange the biscuits so they’re lightly touching and brush the tops with melted butter.
- Bake for 20–24 minutes, until golden brown and well risen.
- Brush the hot biscuits with more melted butter and serve warm.
Notes
- Keep the butter and dough as cold as possible throughout the process.
- Don’t twist the biscuit cutter while cutting.
- Re-roll the scraps to make additional biscuits
- Chilling the biscuits before baking helps create flakier layers.
- Store leftovers in an airtight container for up to 4 days and reheat briefly before serving.
Nutrition Facts
12 servings per container
Serving SizeBiscuits
- Amount Per ServingCalories170
- % Daily Value *
- Total Fat
8g
11%
- Saturated Fat 5g 25%
- Cholesterol 20mg 7%
- Sodium 320mg 14%
- Total Carbohydrate
22g
8%
- Dietary Fiber 1g 4%
- Protein 2g 4%
* The % Daily Value tells you how much a nutrient in a serving of food contributes to a daily diet. 2,000 calories a day is used for general nutrition advice.
