
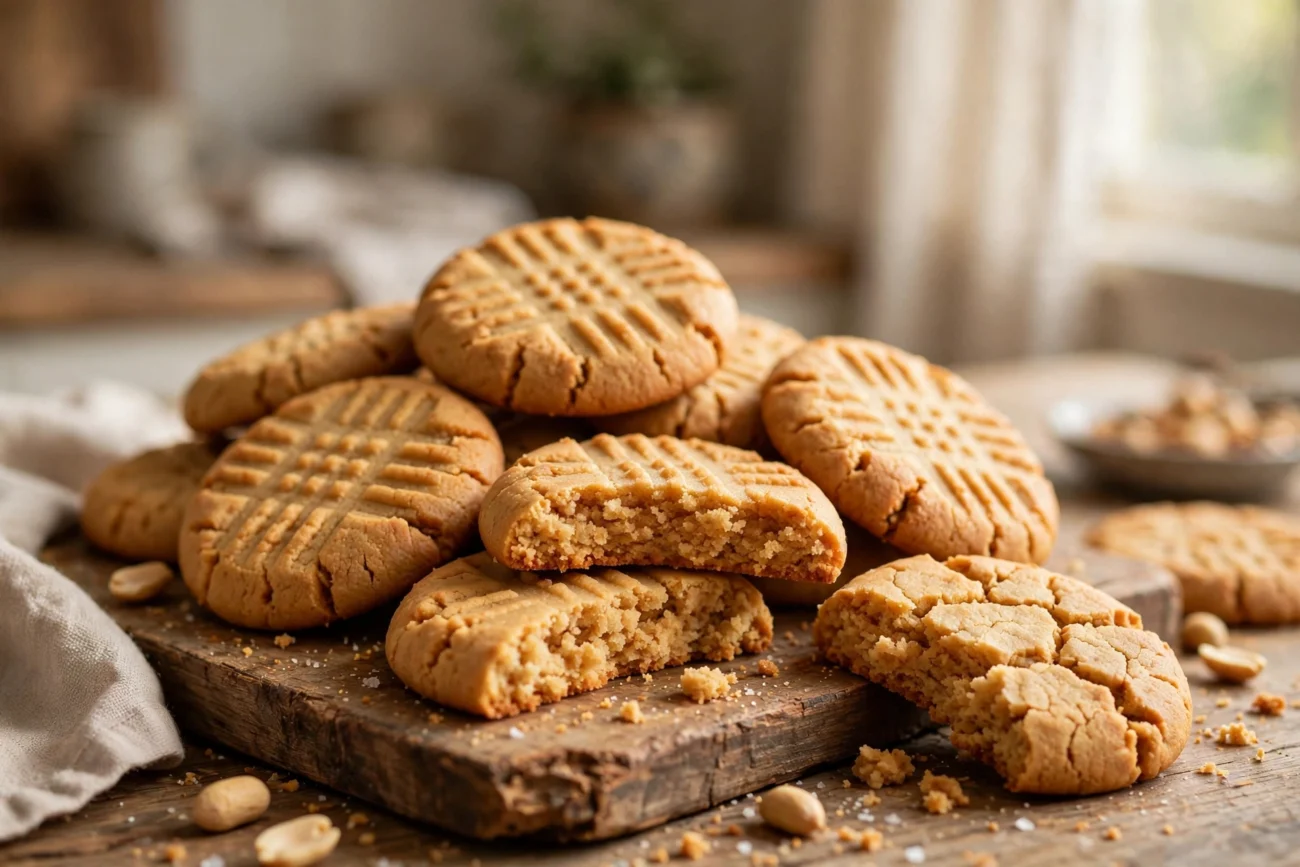
Right. This cookie (Gluten Free Peanut Butter Cookie Recipe) exists because my sister phoned me one Tuesday — Tuesday, of all days, nothing good has ever arrived on a Tuesday — and said the doctor had said the word coeliac. Out loud. In a room.
Then handed her a list. Things she couldn’t eat anymore.
Somewhere on that list, not written down but absolutely there in her voice, were my peanut butter cookies. The ones she’s eaten warm off the tray in my kitchen for six years, give or take.
She didn’t ask. She’s not an asking person. She didn’t have to.
So I did the confident thing. The wrong thing, but confident. Took my usual recipe, swapped the flour for a gluten free blend, cup for cup. Genius.
Those cookies were a crime scene. Sandy. Pale. One stern look and they crumbled out of embarrassment. The flavour just lay there flat, like the cookie had retired. My sister ate one guest-polite — not sister-polite — and that told me everything.
Then I remembered the old cookie. The original. Peanut butter, sugar, an egg. Gluten free before gluten free was a phrase.
It isn’t imitating a flour cookie. It never had flour. It doesn’t miss flour. That’s the whole secret, I’ve decided: a gluten free peanut butter cookie recipe works when it stops pretending.
The Numbers Before We Start
Quick numbers, because somebody always asks. One batch makes 18 cookies. Prep is genuinely 10 minutes — I’m not lying the way recipes lie. Then the dough sits in the fridge for 30 minutes. Not a suggestion. Load-bearing.
I learned why so you don’t have to. Baking is 10 to 12 minutes a tray at 175°C (350°F). All in, about 50 minutes. Half of it the fridge working.
What Goes In
Six things. One bowl. Nobody driving to three shops.
- 250 g (1 cup) smooth peanut butter — the whole recipe stands on this jar; natural or regular both work, whole section below, I have feelings
- 200 g (1 cup) granulated sugar — do not reduce it, do not be noble; in a flourless cookie sugar isn’t sweetness, it’s scaffolding
- 1 large egg — room temperature if you’re organised, straight from the fridge if you’re me; the world keeps turning
- 1 teaspoon vanilla extract — peanut butter and vanilla have never once let anybody down
- 1/2 teaspoon baking soda — the truly old recipes skip it, you may too, but it lifts the edges and stops the middles setting like concrete
- 1/4 teaspoon fine salt — skip it only if your peanut butter is the very salty kind; taste the jar first, tasting jars is allowed
That’s the entire list. I still can’t quite believe it some days. Six things, and half of them are basically seasoning.
The Method
- Before anything gets mixed: oven on, 175°C (350°F), tray lined with parchment, rack in the middle. Middle, I mean it — these sulk and go dark on the bottom rack and stay ghostly on the top one. Middle is where they behave.
- First, and people skip this and then wonder: stir the peanut butter alone in the bowl. Ten seconds. Especially if there’s a slick of oil on top of the jar, judging you. Everything after this goes easier. Everything.
- Sugar, baking soda and salt in. Stir to one thick grainy paste. Then — only then — the egg and vanilla. It will look wrong. Loose. Shiny. Like it’s changed its mind about being dough. Give it twenty seconds. It pulls together into soft, heavy dough. Wet sand that wants to be a castle. That’s your cue to stop touching it.
- Now the fridge, and I will not be negotiated with: cover the bowl, 30 minutes. The fridge. Not the freezer — the freezer is a different, worse story, and a confession is coming.
- Scooping comes after the chill. Never before. Tablespoon-sized balls — I get 18, roughly 30 g each if you’re a scale person; I’m a scale person about exactly this and nothing else — spaced a good 5 cm (2 inches) apart. They spread. Politely, but they spread.
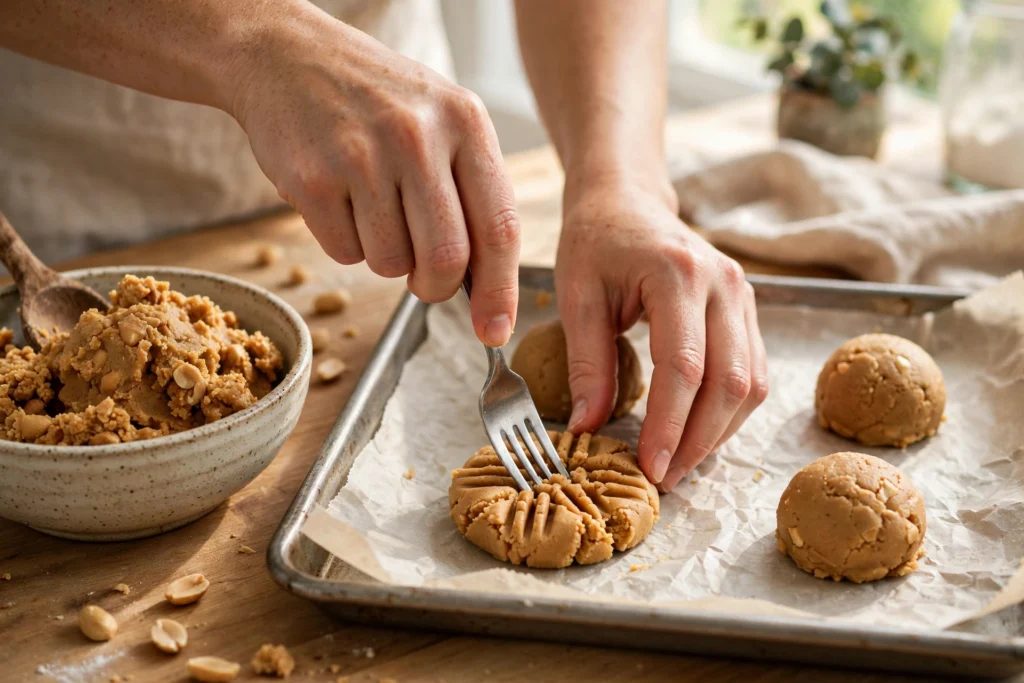
- The crosshatch. A technique, not a garnish. Dip a fork in a little bowl of sugar — plain water works nearly as well — and press each ball down twice, criss-cross, to about 1 cm thick. Hear me: the sugared fork is not decoration. It’s the difference between pressing a cookie and tearing one. I have torn them. Plural.
- Bake 10 to 12 minutes. Then perform the hardest act of faith in this recipe. You want edges set and barely, barely golden. Middles still soft and puffy and — I’ll say it — underdone-looking. Underdone-looking is correct. Take them out anyway. Trust the tray. Ignore your instincts. Your instincts will be screaming.
- Last step, and it’s just standing there: leave them on the hot tray a full 10 minutes before anything goes near a rack. A flourless cookie out of the oven has the structural integrity of warm fudge — because it basically is warm fudge. It firms as it cools, into that tender melty middle. Move one early and it folds. I folded one. Ate it over the sink like a raccoon. No regrets. But wait the 10 minutes.
The Tray That Taught Me About the Fridge
Confession, because this page is where the failures live. My first flourless tray went in unchilled. I was impatient, and it was a Thursday — I make all my worst decisions on Thursdays; it’s documented, there are witnesses.
Those cookies spread until they were holding hands. Greasy at the edges. They crumbled into sweet peanut sand the second I lifted one. Same recipe. Same oven. Only the fridge was missing.
And the why isn’t mysterious. Peanut butter is mostly fat. Warm fat in a flourless dough just runs the moment the oven looks at it.
Chilled, the dough walks in firm. Holds its shape through the first crucial minutes. Spreads slowly, on schedule. The crosshatch stays a crosshatch instead of melting into a rumour.
Same with the fork: a dry fork sticks and rips the top clean off. Sugar it or wet it. Never dry. Chill the dough, wet the fork — that’s my hill, and I’ll die on it happily.
Natural Peanut Butter Versus the Regular Stuff
One decision here actually changes the cookie, so no dancing around it. The regular no-stir peanut butters — a little added oil and sugar already in the jar — make the most reliable version. Thick dough. Cookies that hold.
Tender, even crumb. First batch, or baking for someone newly diagnosed with the stakes feeling high — they did in my kitchen — use that kind and take the win.
Natural peanut butter
Natural peanut butter, just peanuts and salt with the oil floating on top, absolutely works. The flavour’s deeper. It’s what I reach for now.
But it runs looser. Stir the jar properly, right to the bottom. Chill the full 30. Accept a touch more spread and a touch more crumble.
Crunchy, either kind, gives you peanut rubble throughout. My household votes yes. My sister votes no.
We alternate and everybody survives. Democracy.
Sugar, quickly, because someone is already reaching for the healthy swap and I need to intercept. All granulated is the classic: crisp rim, soft middle. Half brown sugar makes it softer, chewier, faintly caramel — lovely, different, not better. Coconut sugar works too, darker and moodier.
But don’t cut the sugar right down. In a flourless cookie sugar isn’t sweetness, it’s scaffolding. Half the building. Take more than a couple of spoonfuls away and you’re back to peanut sand, and we have all suffered enough.
The Sturdier Version, With a Gluten Free Flour Blend
Some people — my sister, once the grief stage passed — want a cookie that can travel.
Lunchbox. Handbag. A tin posted to another city. Fair.
For the sturdier version, keep everything above and stir 60 g (1/2 cup) of a gluten free flour blend in with the sugar. Plus one extra egg yolk if the dough looks dry. Chill as written. Bake the same way, maybe a minute longer.
You get backbone. A slightly cakey crumb. A cookie that stacks and packs. You lose a little of the melt-in-the-middle. I make both. The flourless one gets served warm in my kitchen — which is the highest honour this house bestows.
Two Variations That Earn Their Place
Chocolate chips first
Chocolate chips first, because of course: fold in 80 g (about 1/2 cup) — check the bag says gluten free; checking is free — after the dough comes together, before the chill. Peanut butter and chocolate is not a new idea and doesn’t need to be. It needs to be in your mouth.
Then the thumbprint
Then the thumbprint. Skip the crosshatch. Press your thumb — or the back of a teaspoon, cleaner — into each chilled ball. Bake as written. Then, while they’re warm, press the dent again gently and fill it with half a teaspoon of raspberry jam.
They look like you own a bakery. They taste like childhood got a promotion. My sister took six home in a tin. The tin came back empty, with a note inside that said “more.” One word. That’s the review. That’s the whole review.
How They Keep
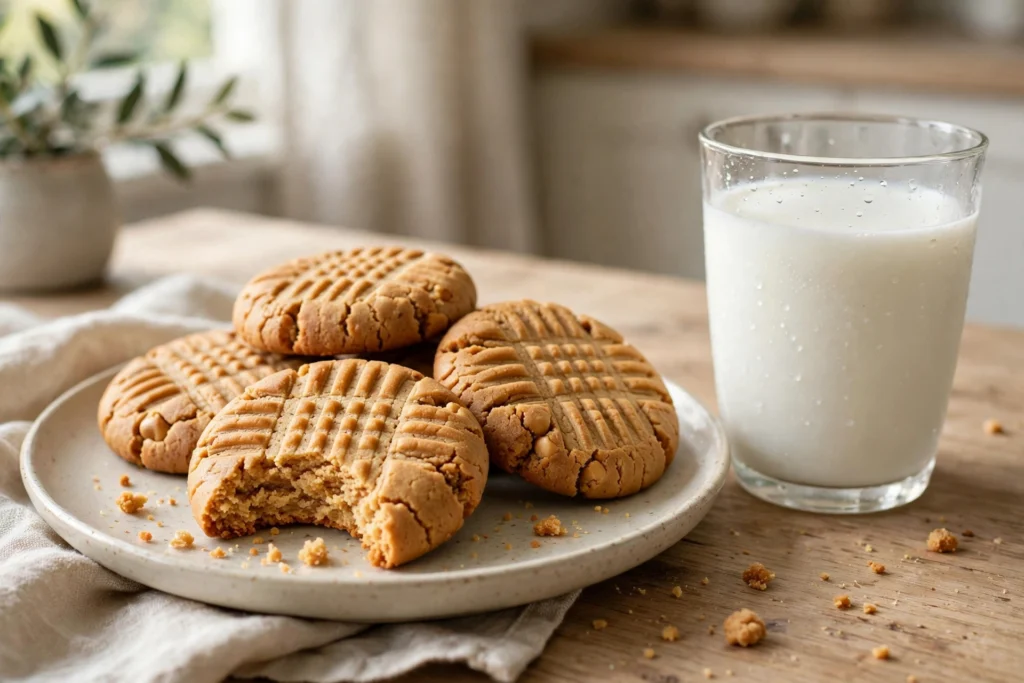
In a tin at room temperature these hold beautifully for 4 to 5 days. The fat that makes them temperamental warm makes them keepers once cool. The centres stay soft.
They freeze well baked
They freeze well baked, up to 3 months. Better still: freeze the scooped, crosshatched raw balls. Bag them once solid.
Bake from frozen at the same temperature for 13 to 14 minutes. Warm cookies on demand, for the next hard phone call life makes. There will be one. There always is.
So. Three main ingredients. No flour, no pretending, no sandy apology of a cookie. The old one, done carefully — chilled dough, sugared fork, out while the middles still look unsure of themselves. My sister eats them warm off the tray again.
Standing up. No plate. The way she always has. The doctor’s list is still on her fridge. But the cookies came back. Some things come back.
